I wanted to build a raspberry pi based arcade cabinet. I will try to outline the steps I did in case it helps.

Design choices
- Used 3/4″ MDF for majority of cabinet. Advantages: sturdy Disadvantages: pain to work with, sawdust everywhere, heavy
- Base was 2x4s
- Several pieces of 1×2
- Spare 1×6 for monitor mount
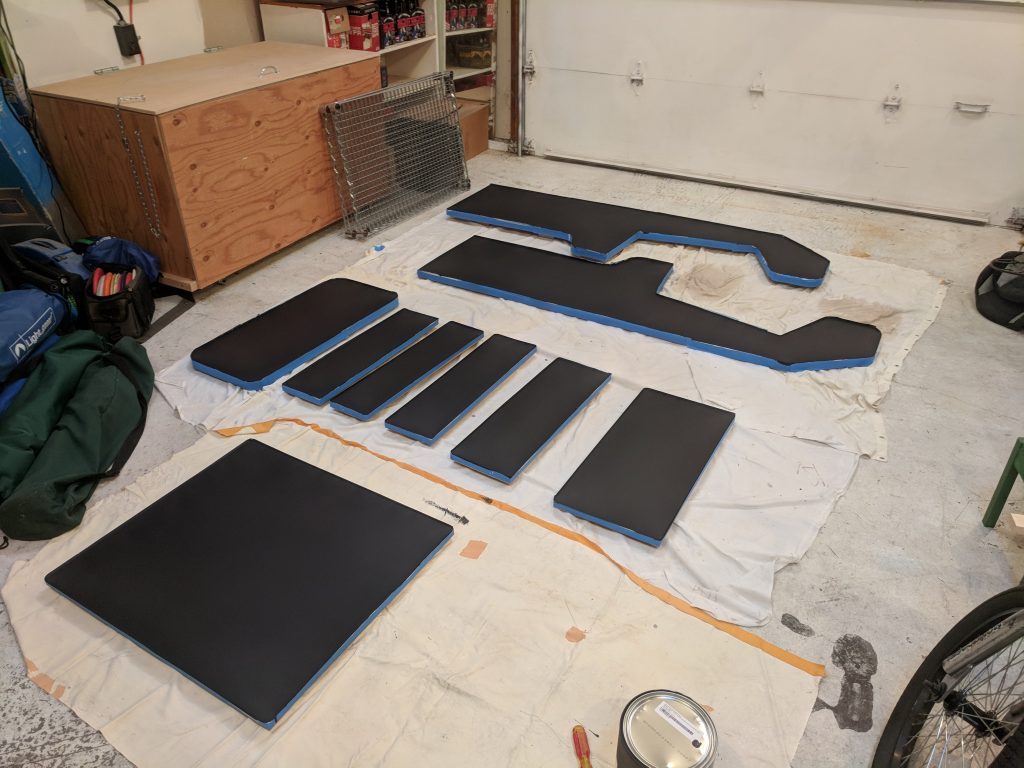
- Black paint
- Feet (Sofa couch feet)
- Cabinet lock to secure access door
- T-molding
- Other bits and pieces
Hardware
- Raspberry pi 3
- 32GB microSD card (for OS)
- 128GB USB flash drive (for roms)
- Speakers
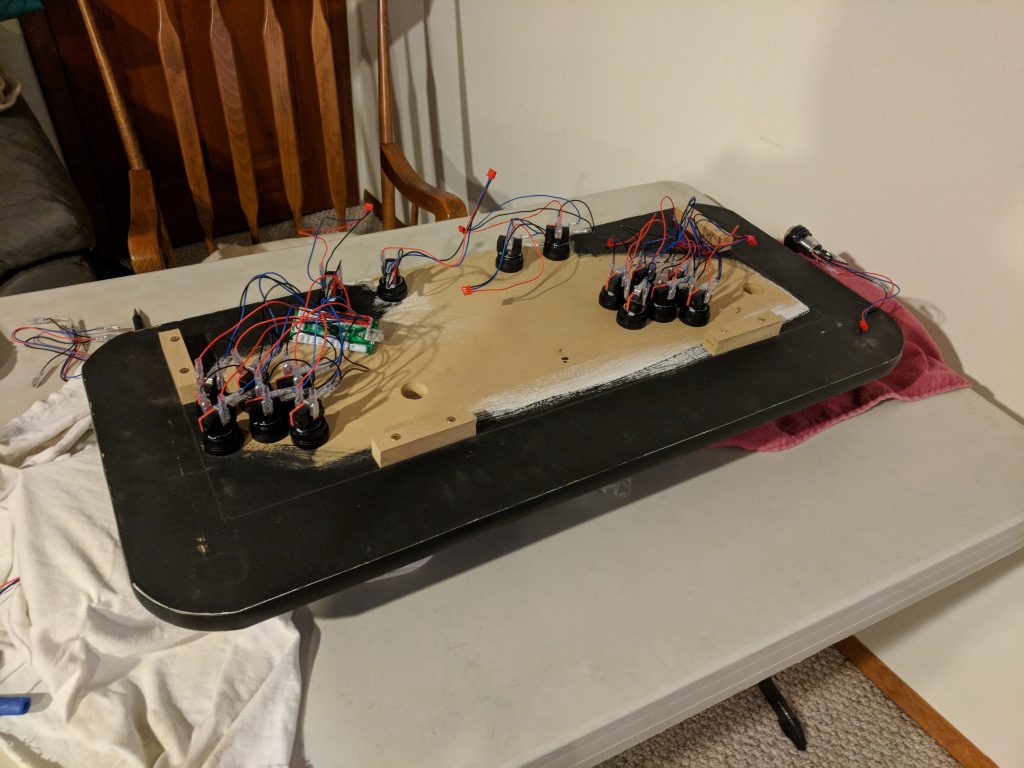
- Arcade joysticks
- Monitor mount (thin)
- Monitor (27 inch)
- Fused switch (to control power)
Cabinet build
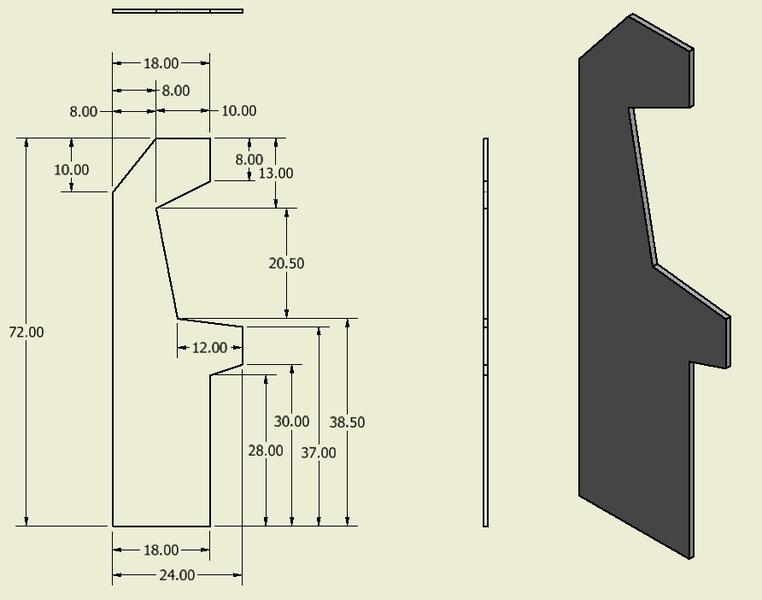
I searched for plans that were the outline I thought I wanted. Eventually settled on this:
http://hyperspin-fe.com/uploads/monthly_01_2015/post-127147-142870667336.jpg
When I bought the MDF, I had home depot cut it in half lengthwise for me so I wouldn’t have to do the long cuts.
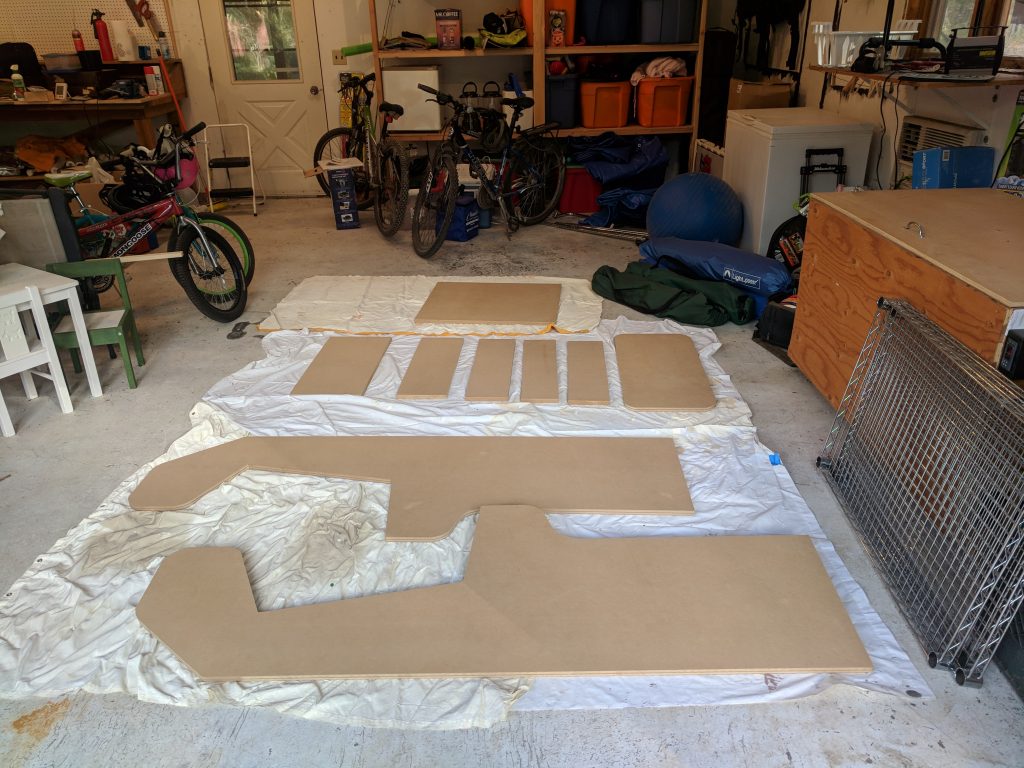
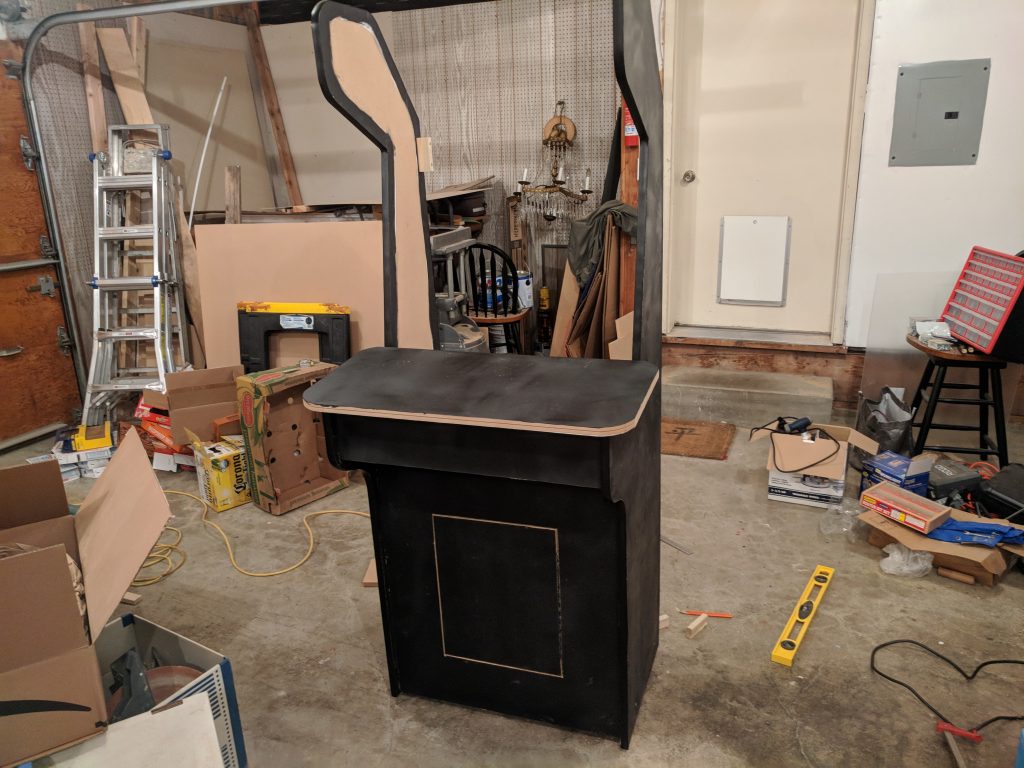
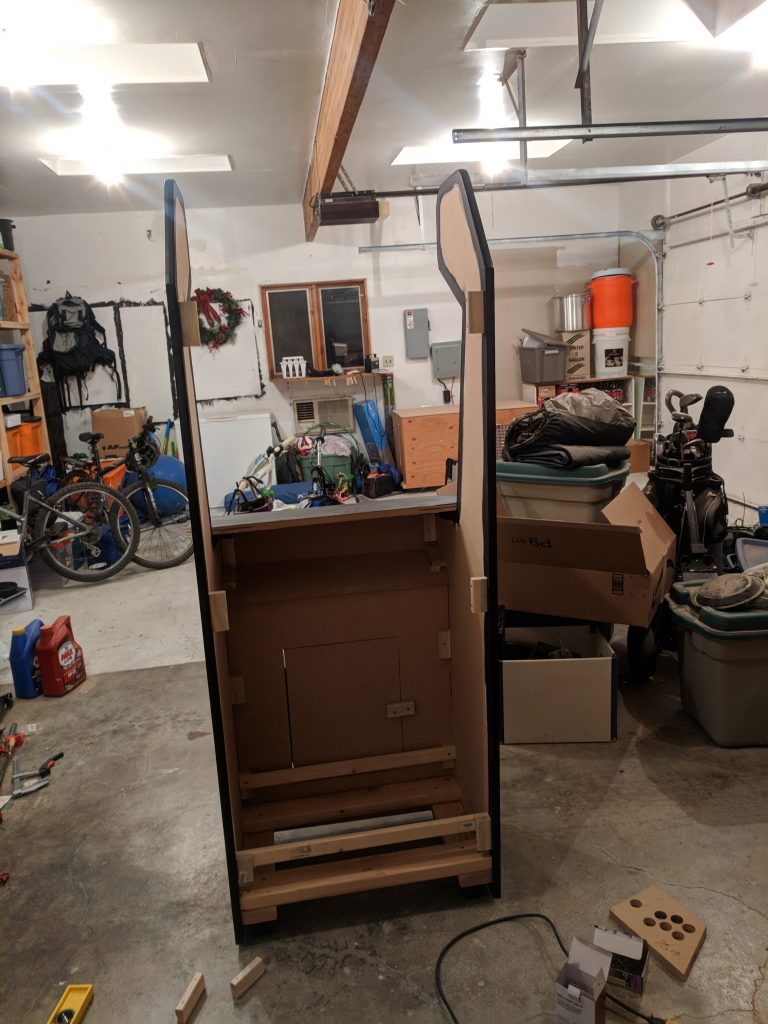
My dad then helped me do the rest of the cuts. Just measured and marked them as best we could. Only real modification I know we did was use a round object to round off some of the corners so they weren’t so hard. Rough cuts were done with circular saw and jigsaw. Then used a router with a piece clamped as a guide to keep lines straight. For rounded edges, we used a belt sander. Once one side was done, we rough cut the second, then just clamped it in place and used the router guide bit to match it exactly.
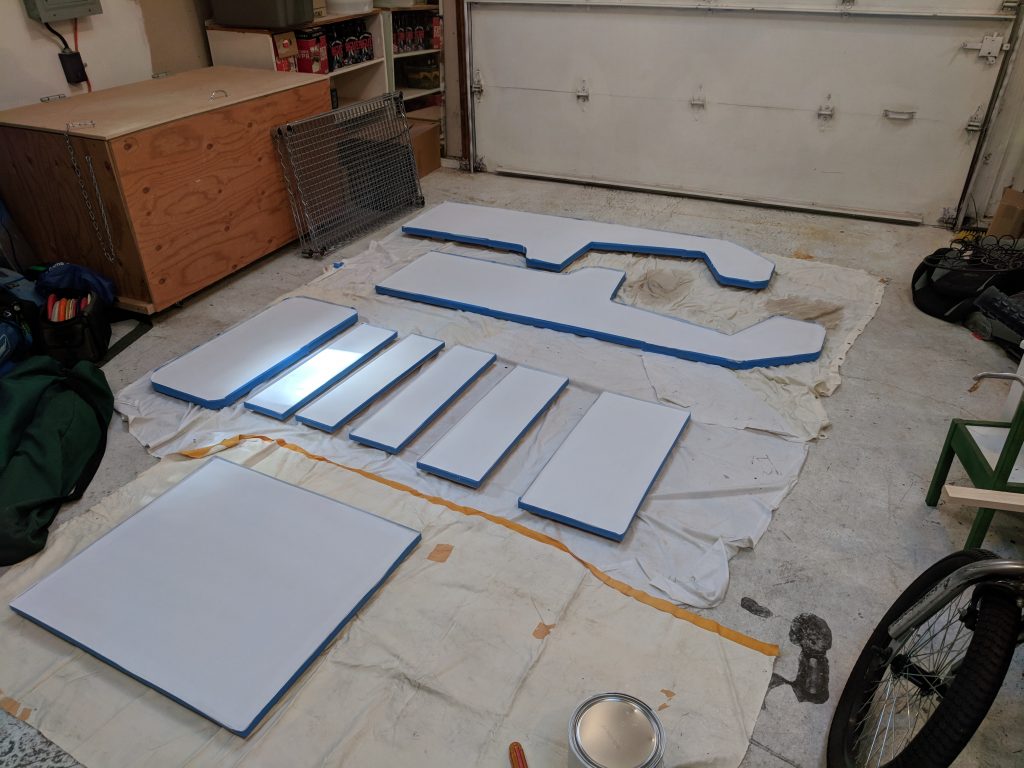
Here are some photos I took during the build:
Software installation
I used the fabulous software package Retropie to handle the roms and frontend. Their documentation is fairly straightforward, but install the ISO to a SD card, install in raspberry pi, and configure. It was a while ago that I set it up, so I don’t recall the full steps I used to configure, but I don’t believe it was super difficult.